


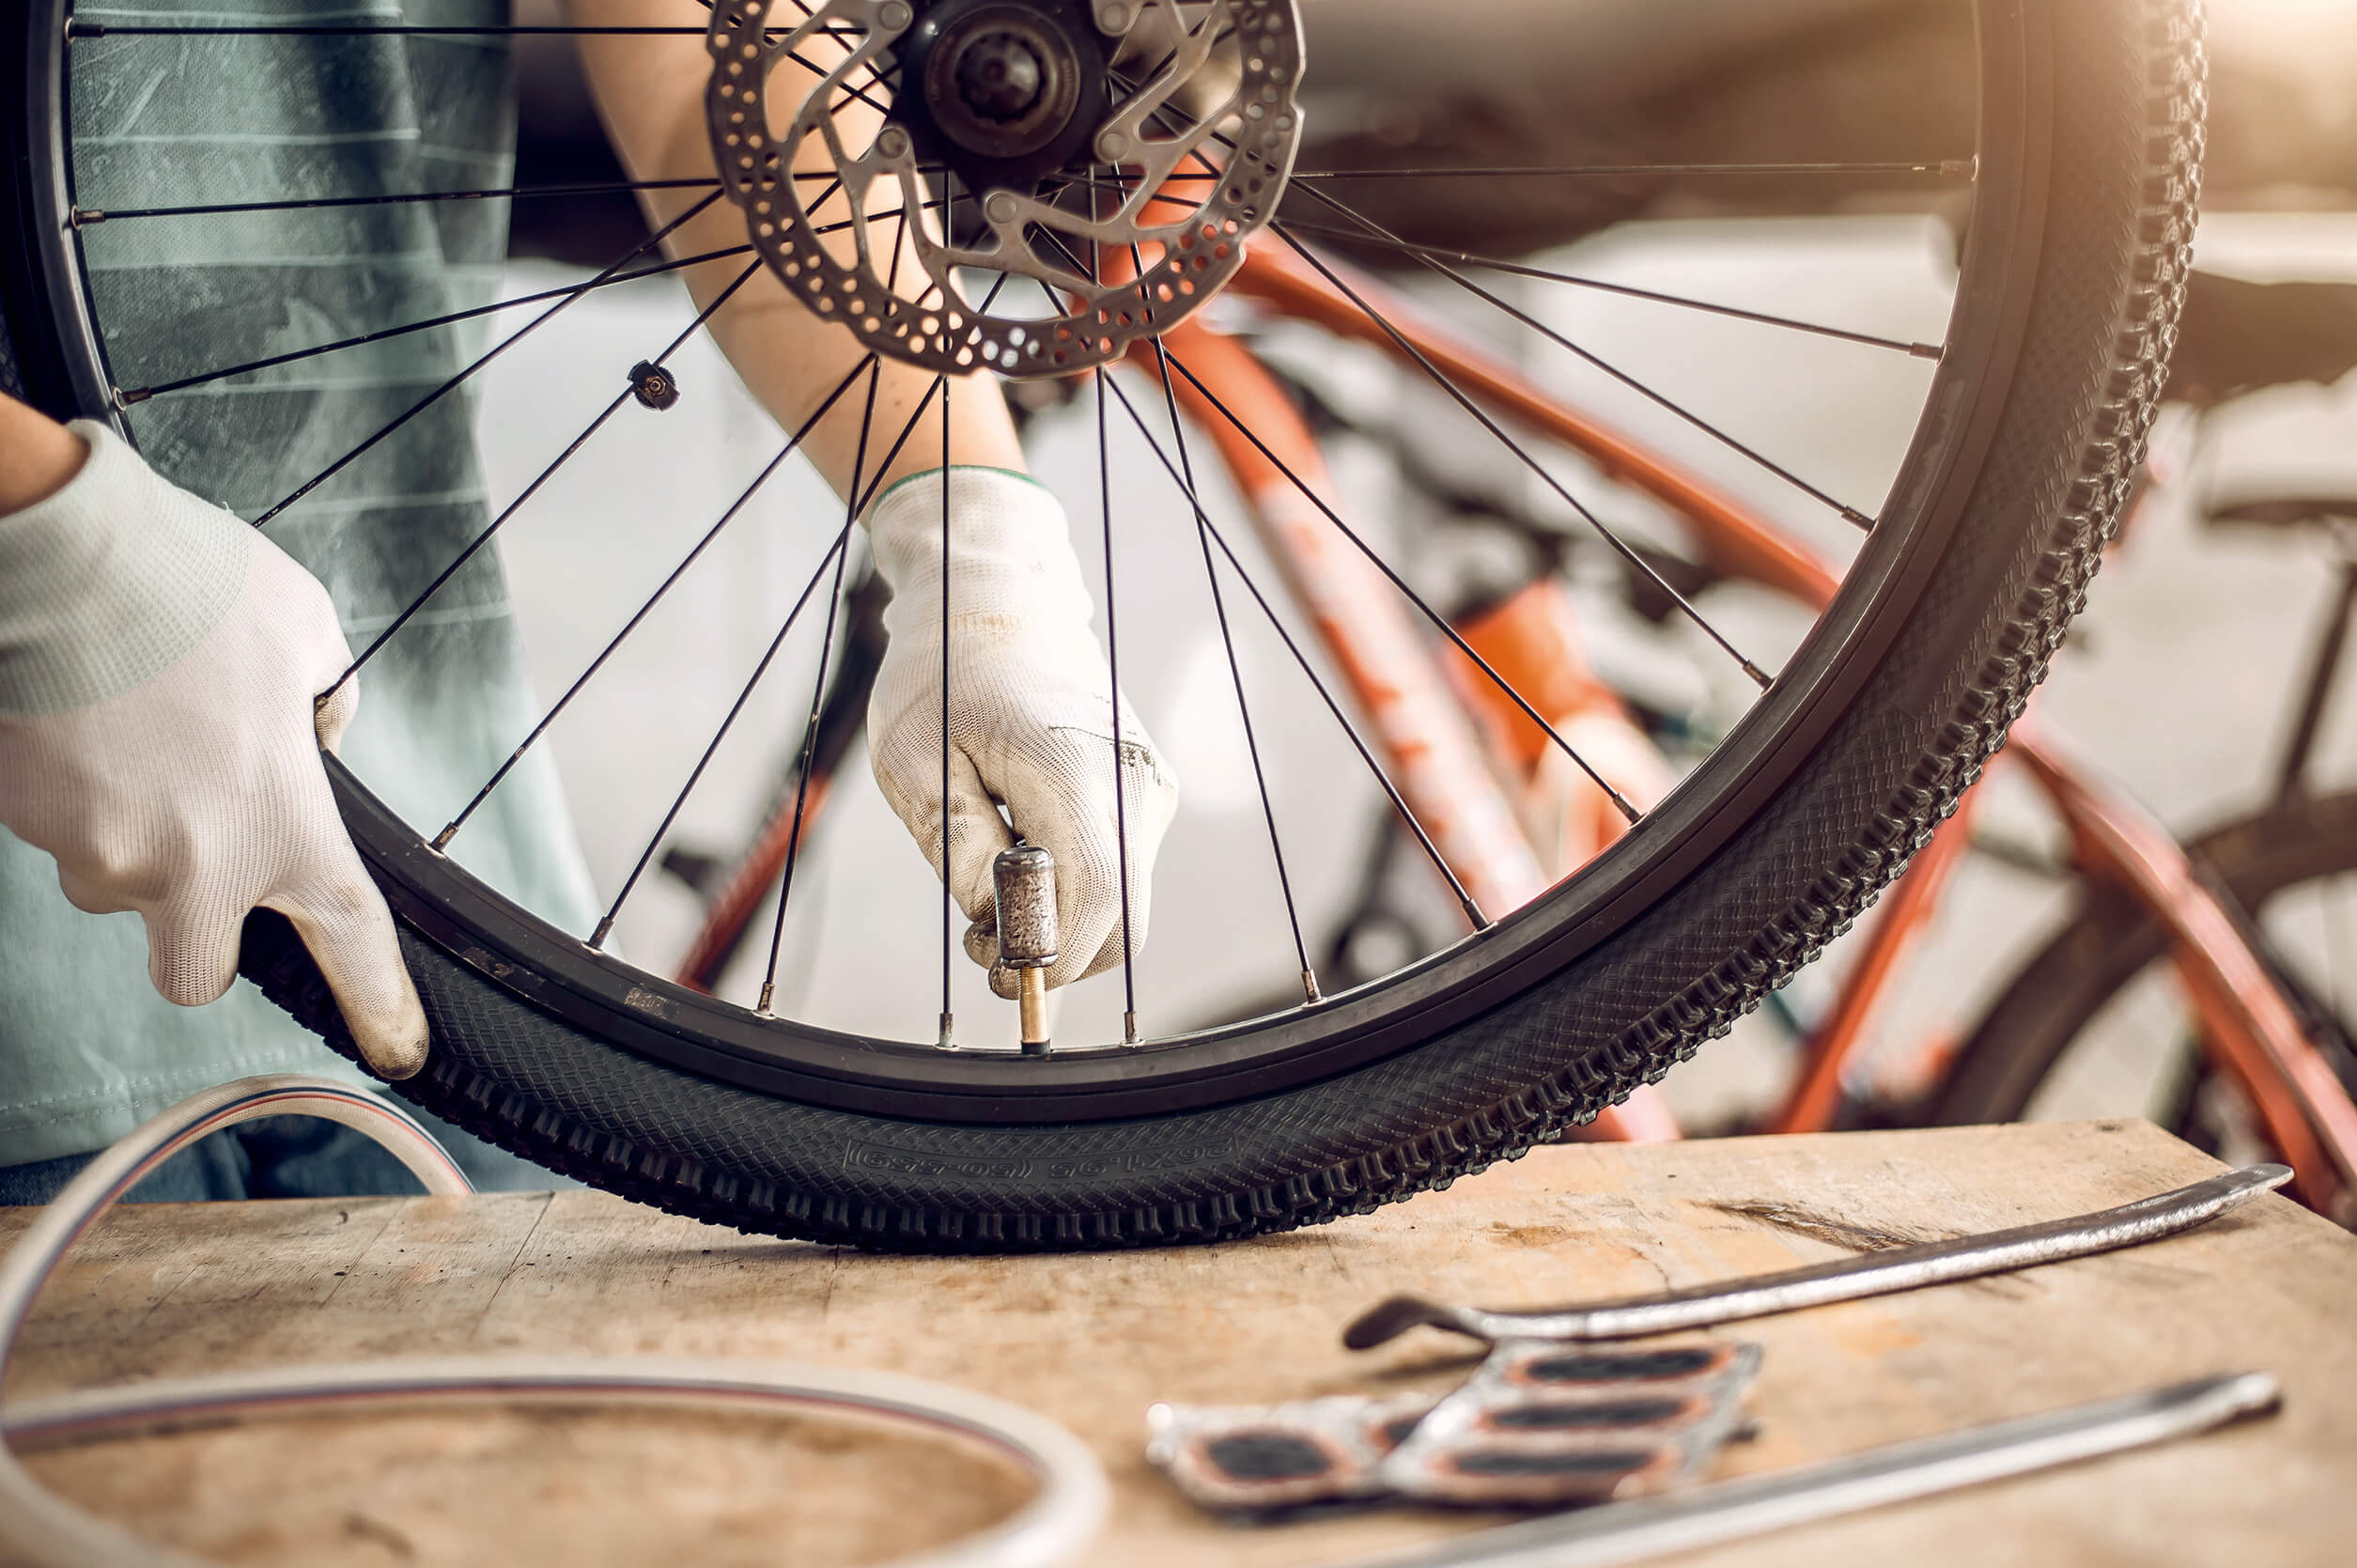
Changing bicycle tires - professional tips for at home.
A flat tire usually happens when you can least use it. With the following steps, you can ensure that your bike is ready to ride again quickly and cleanly.
Step 1: Prepare tools & materials.
Lege alles bereit vor du startest – so sparst du Zeit und Nerven.
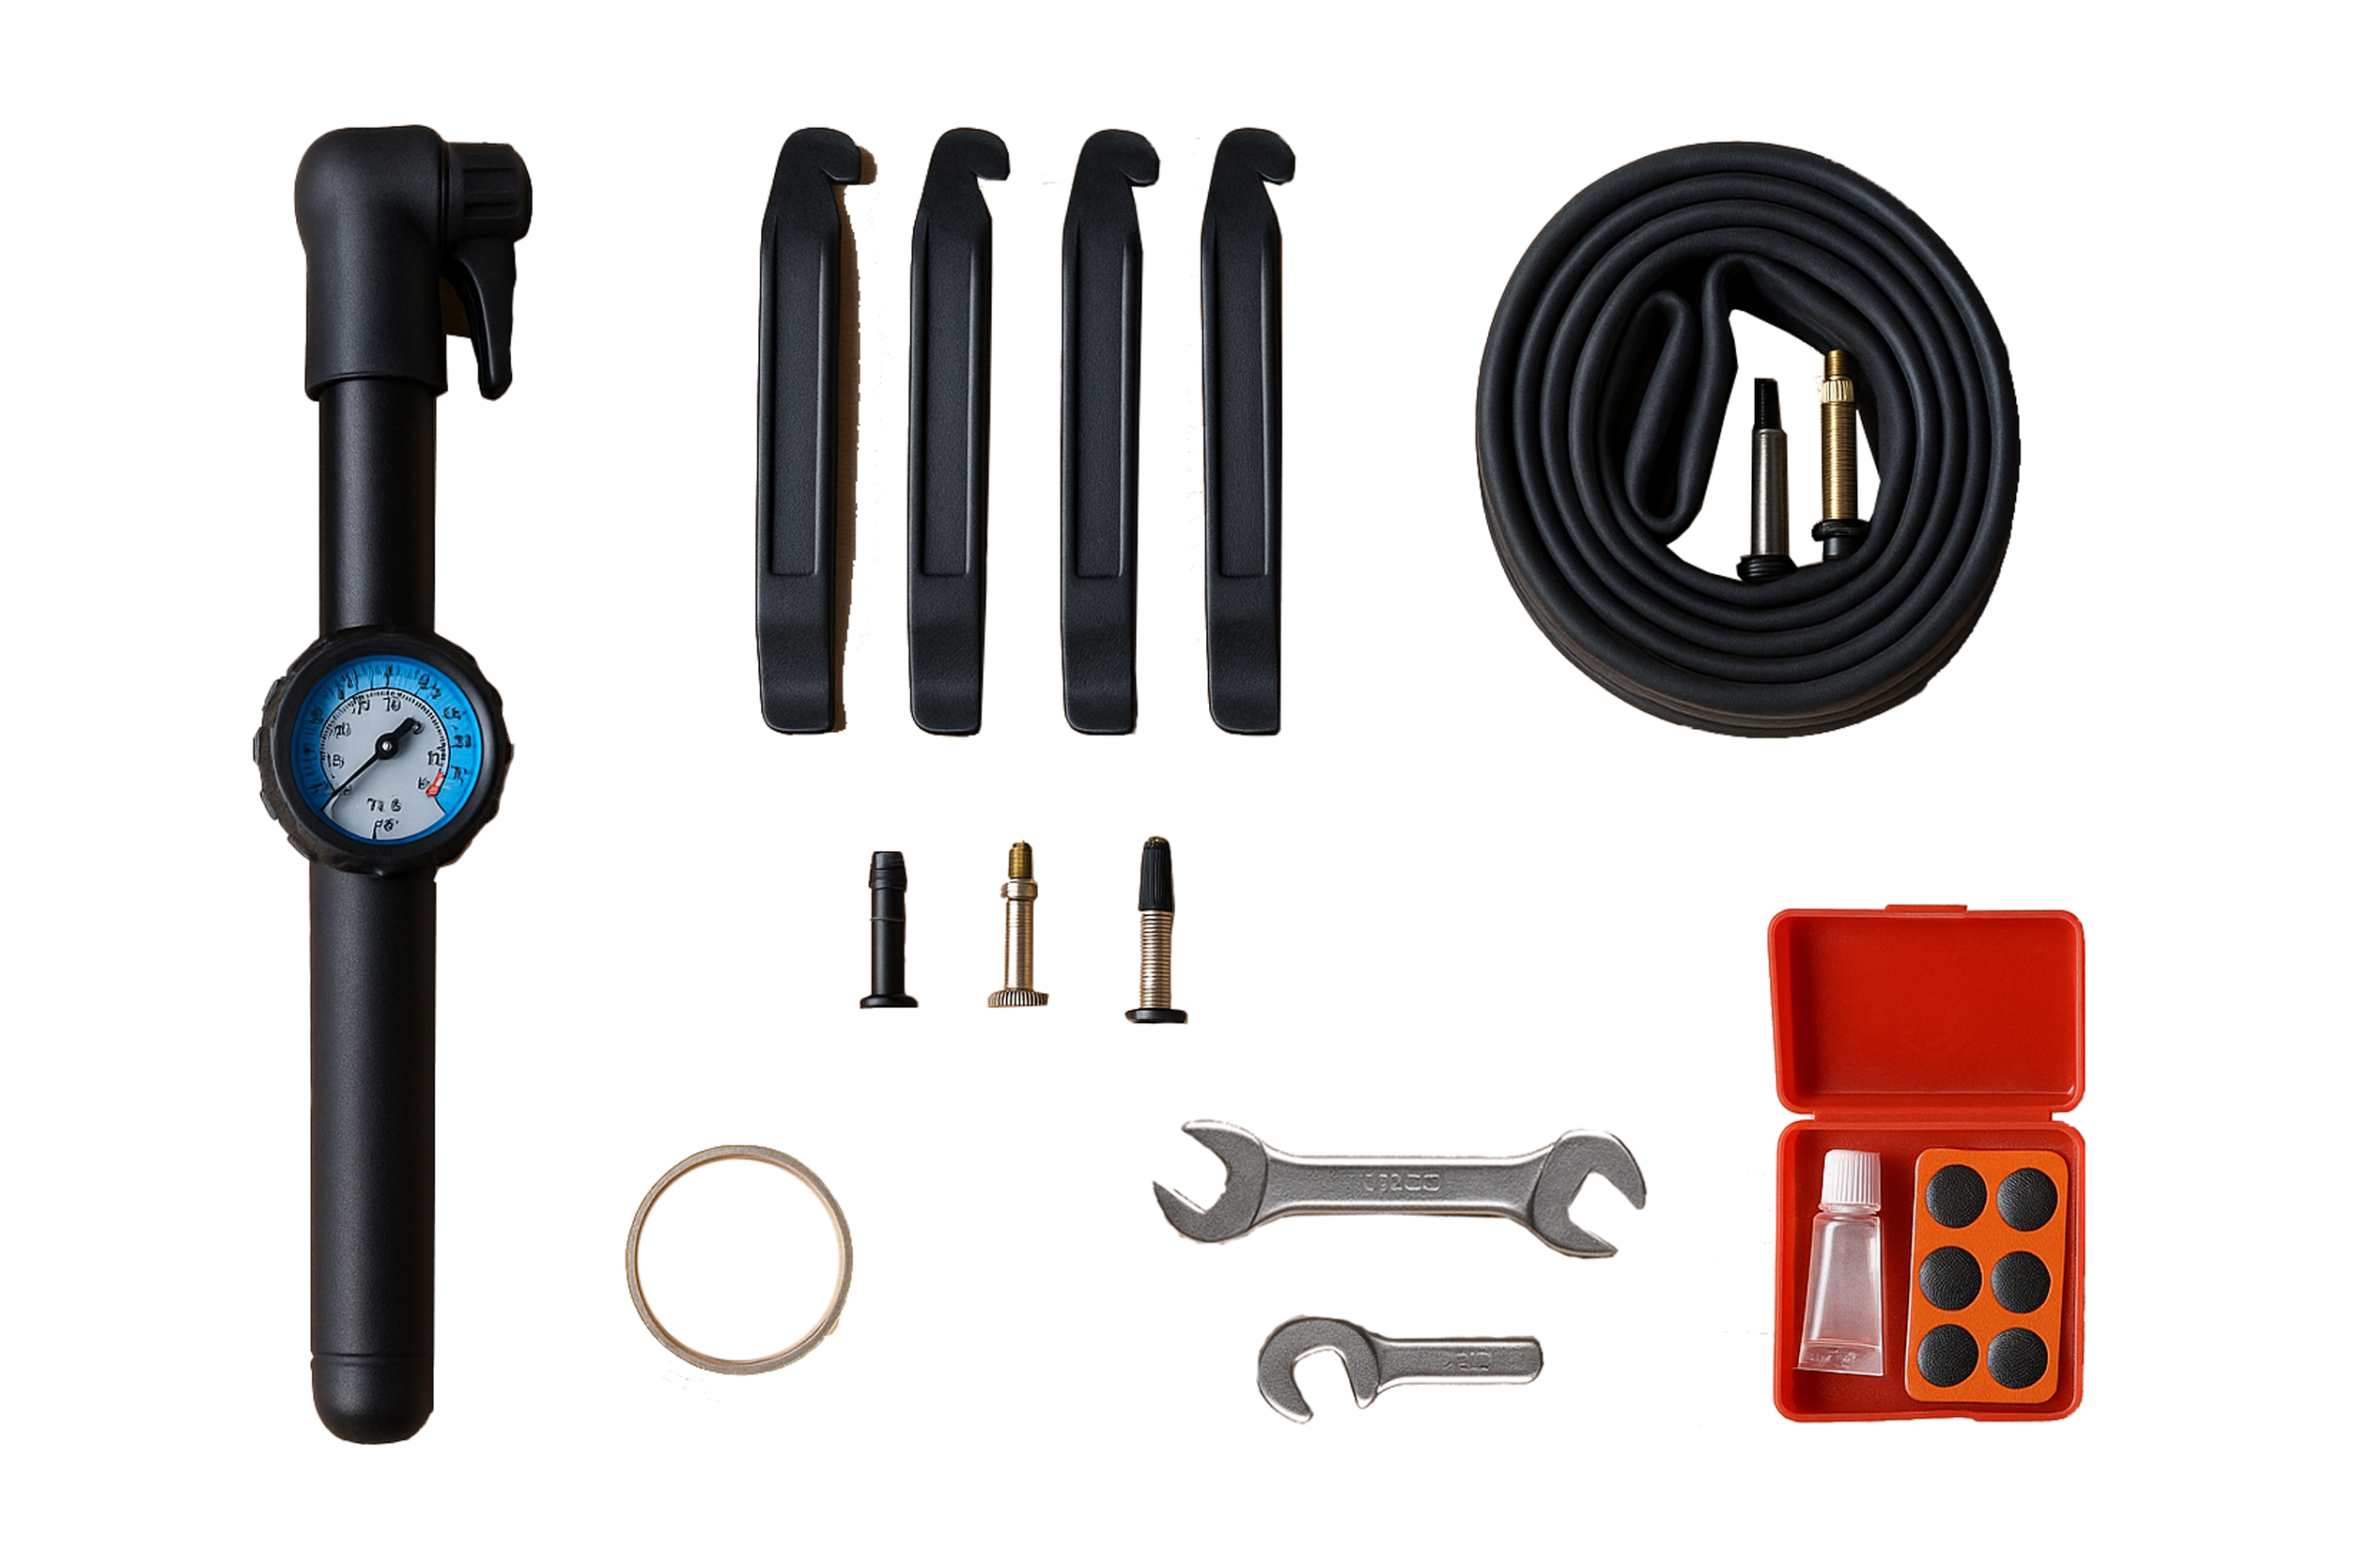
Tools & material.
- 3-4 Tire levers: Use these to lift the casing off the rim - this prevents scratches on the rim
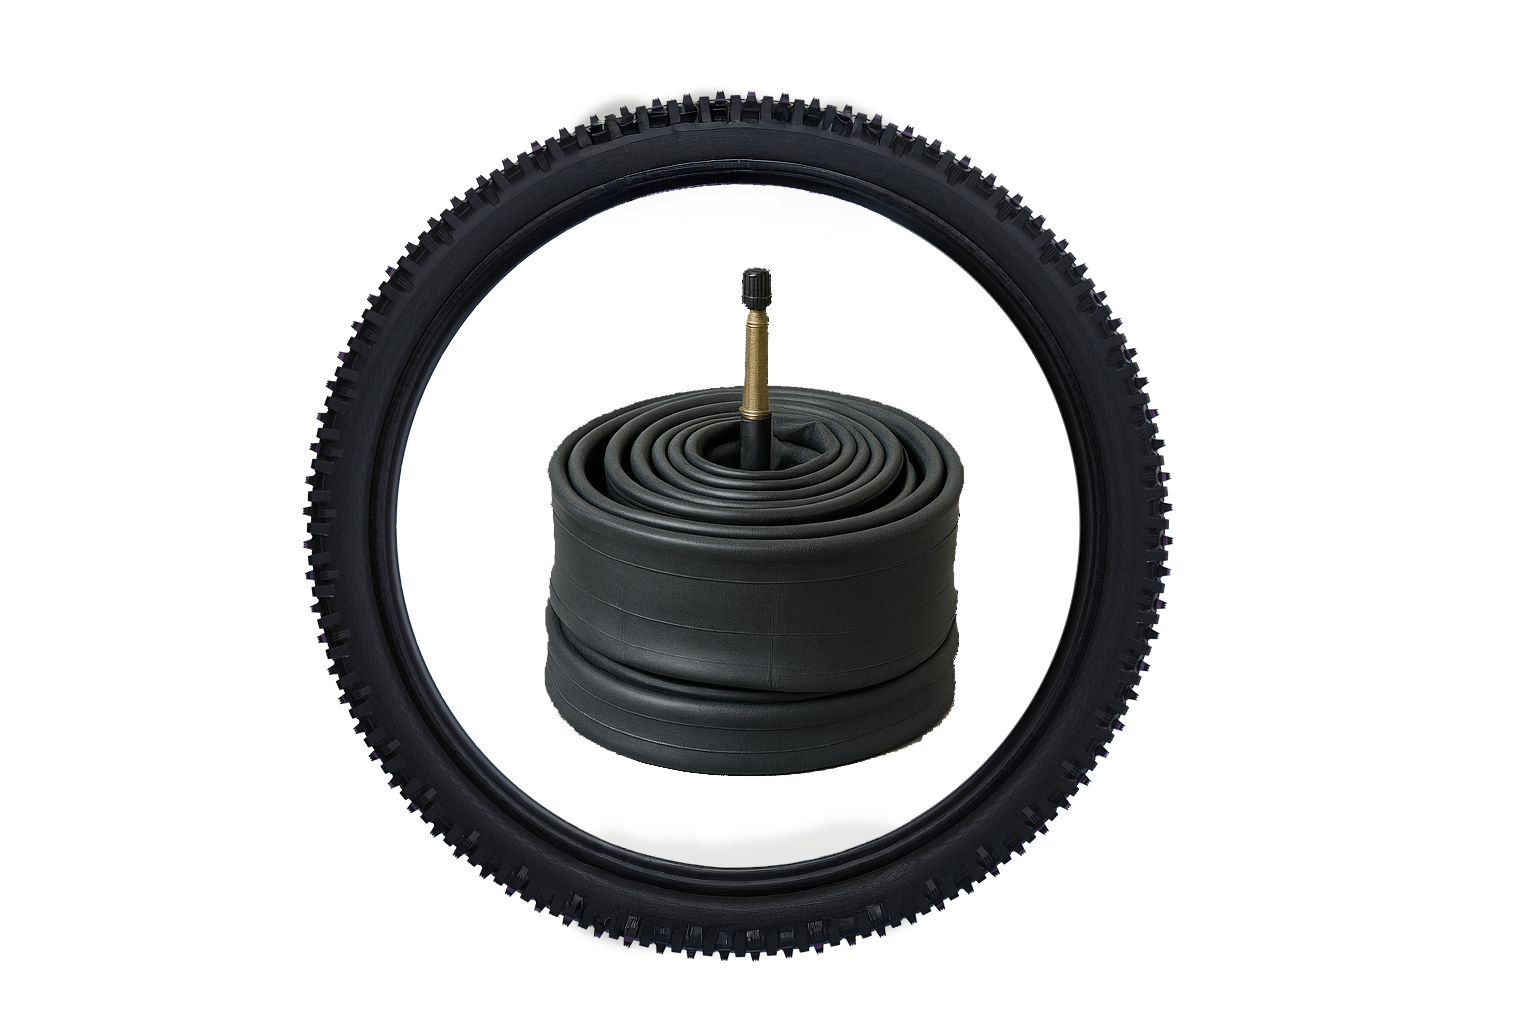
- New hose or jacket:
- Hose with hole or leaking valve
- Coat for cracks, dents or worn tread - Air pump with pressure gauge: For the right pressure. Make sure you have the right pump head (AV, SV, DV)
- Optional: repair kit, talcum powder (for easier mounting) and a soft cloth
Does the hose or the jacket need to be replaced?
Hose.
- Visible hole
- Valve wobbles
- Rubber is brittle
- Loses air
Coat.
- Cracks in the side wall
- Bump when rolling
- Tire has no more tread
- Tires can no longer be set evenly
Valve & size check.
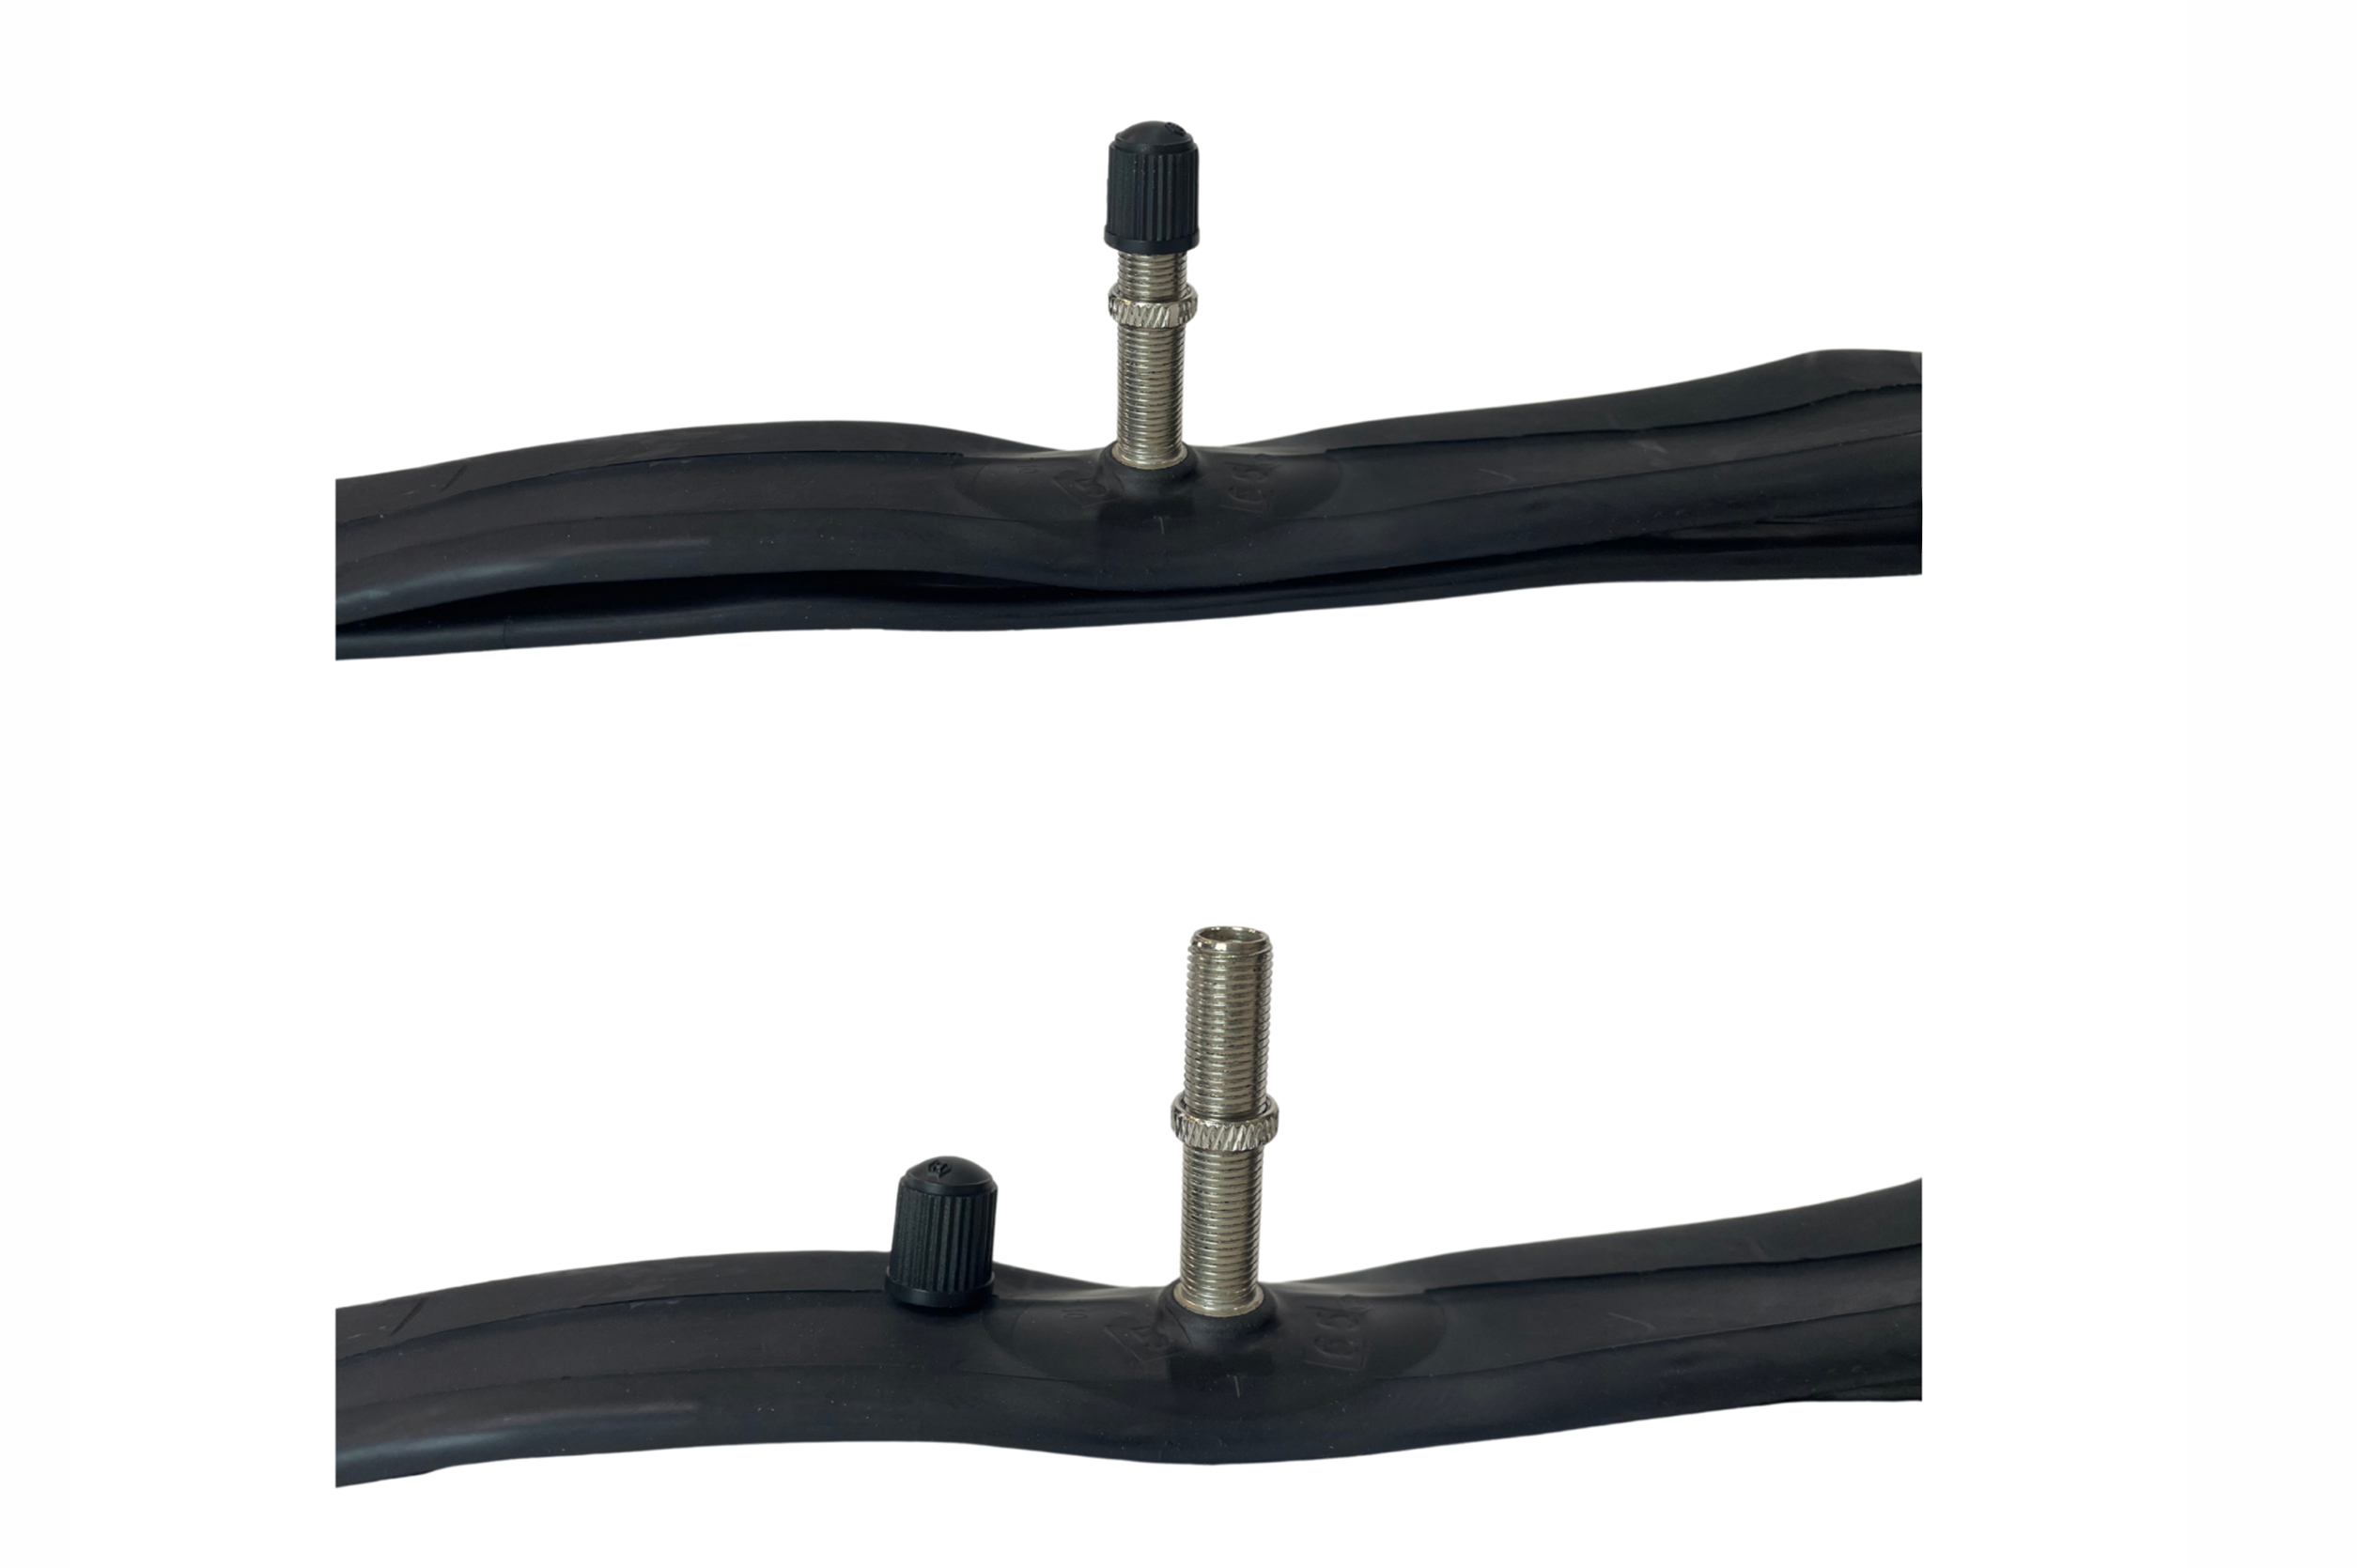
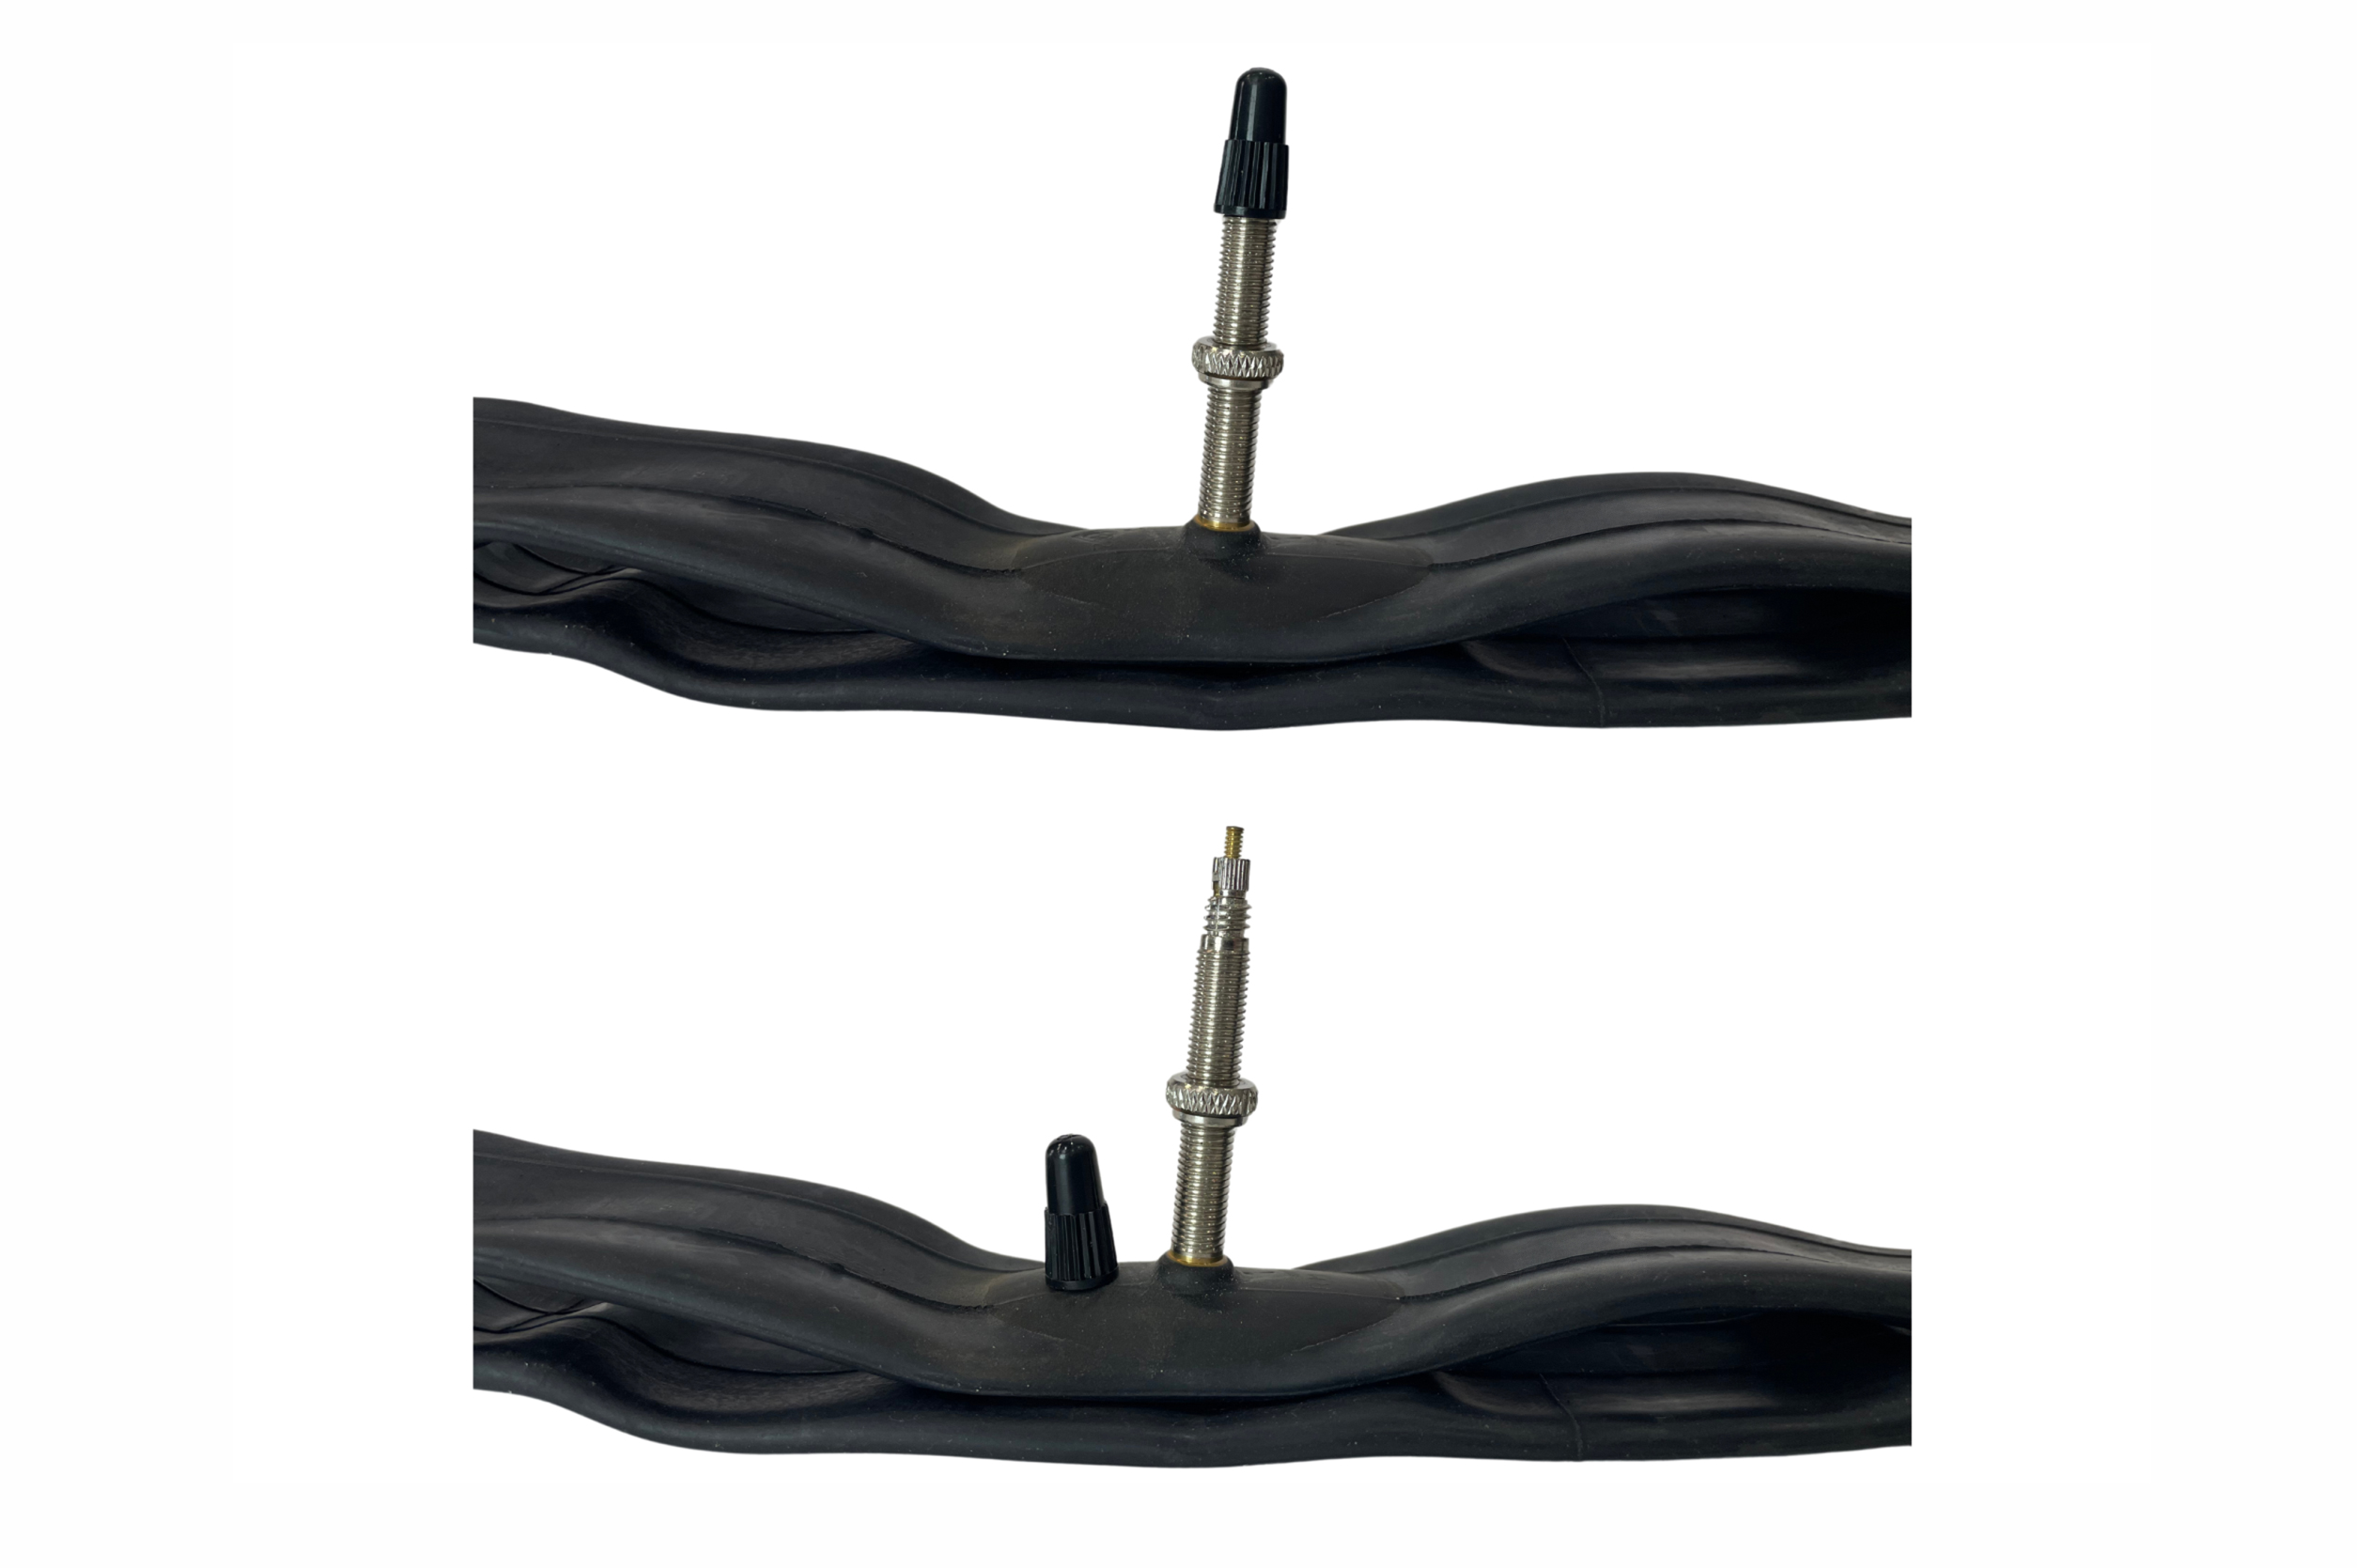
Autovalve (AV), Schrader valve.
The AV is the most common bicycle valve, similar to the car tire valve. It is robust and easy to use.
To inflate: Remove the valve cap, fit the pump head and pump up to the desired pressure. Deflate: Press the pin in the center. Installation: Insert the valve through the rim opening and secure with a nut if necessary. Ideal for mountain and touring bikes, as it can also be used at service stations.
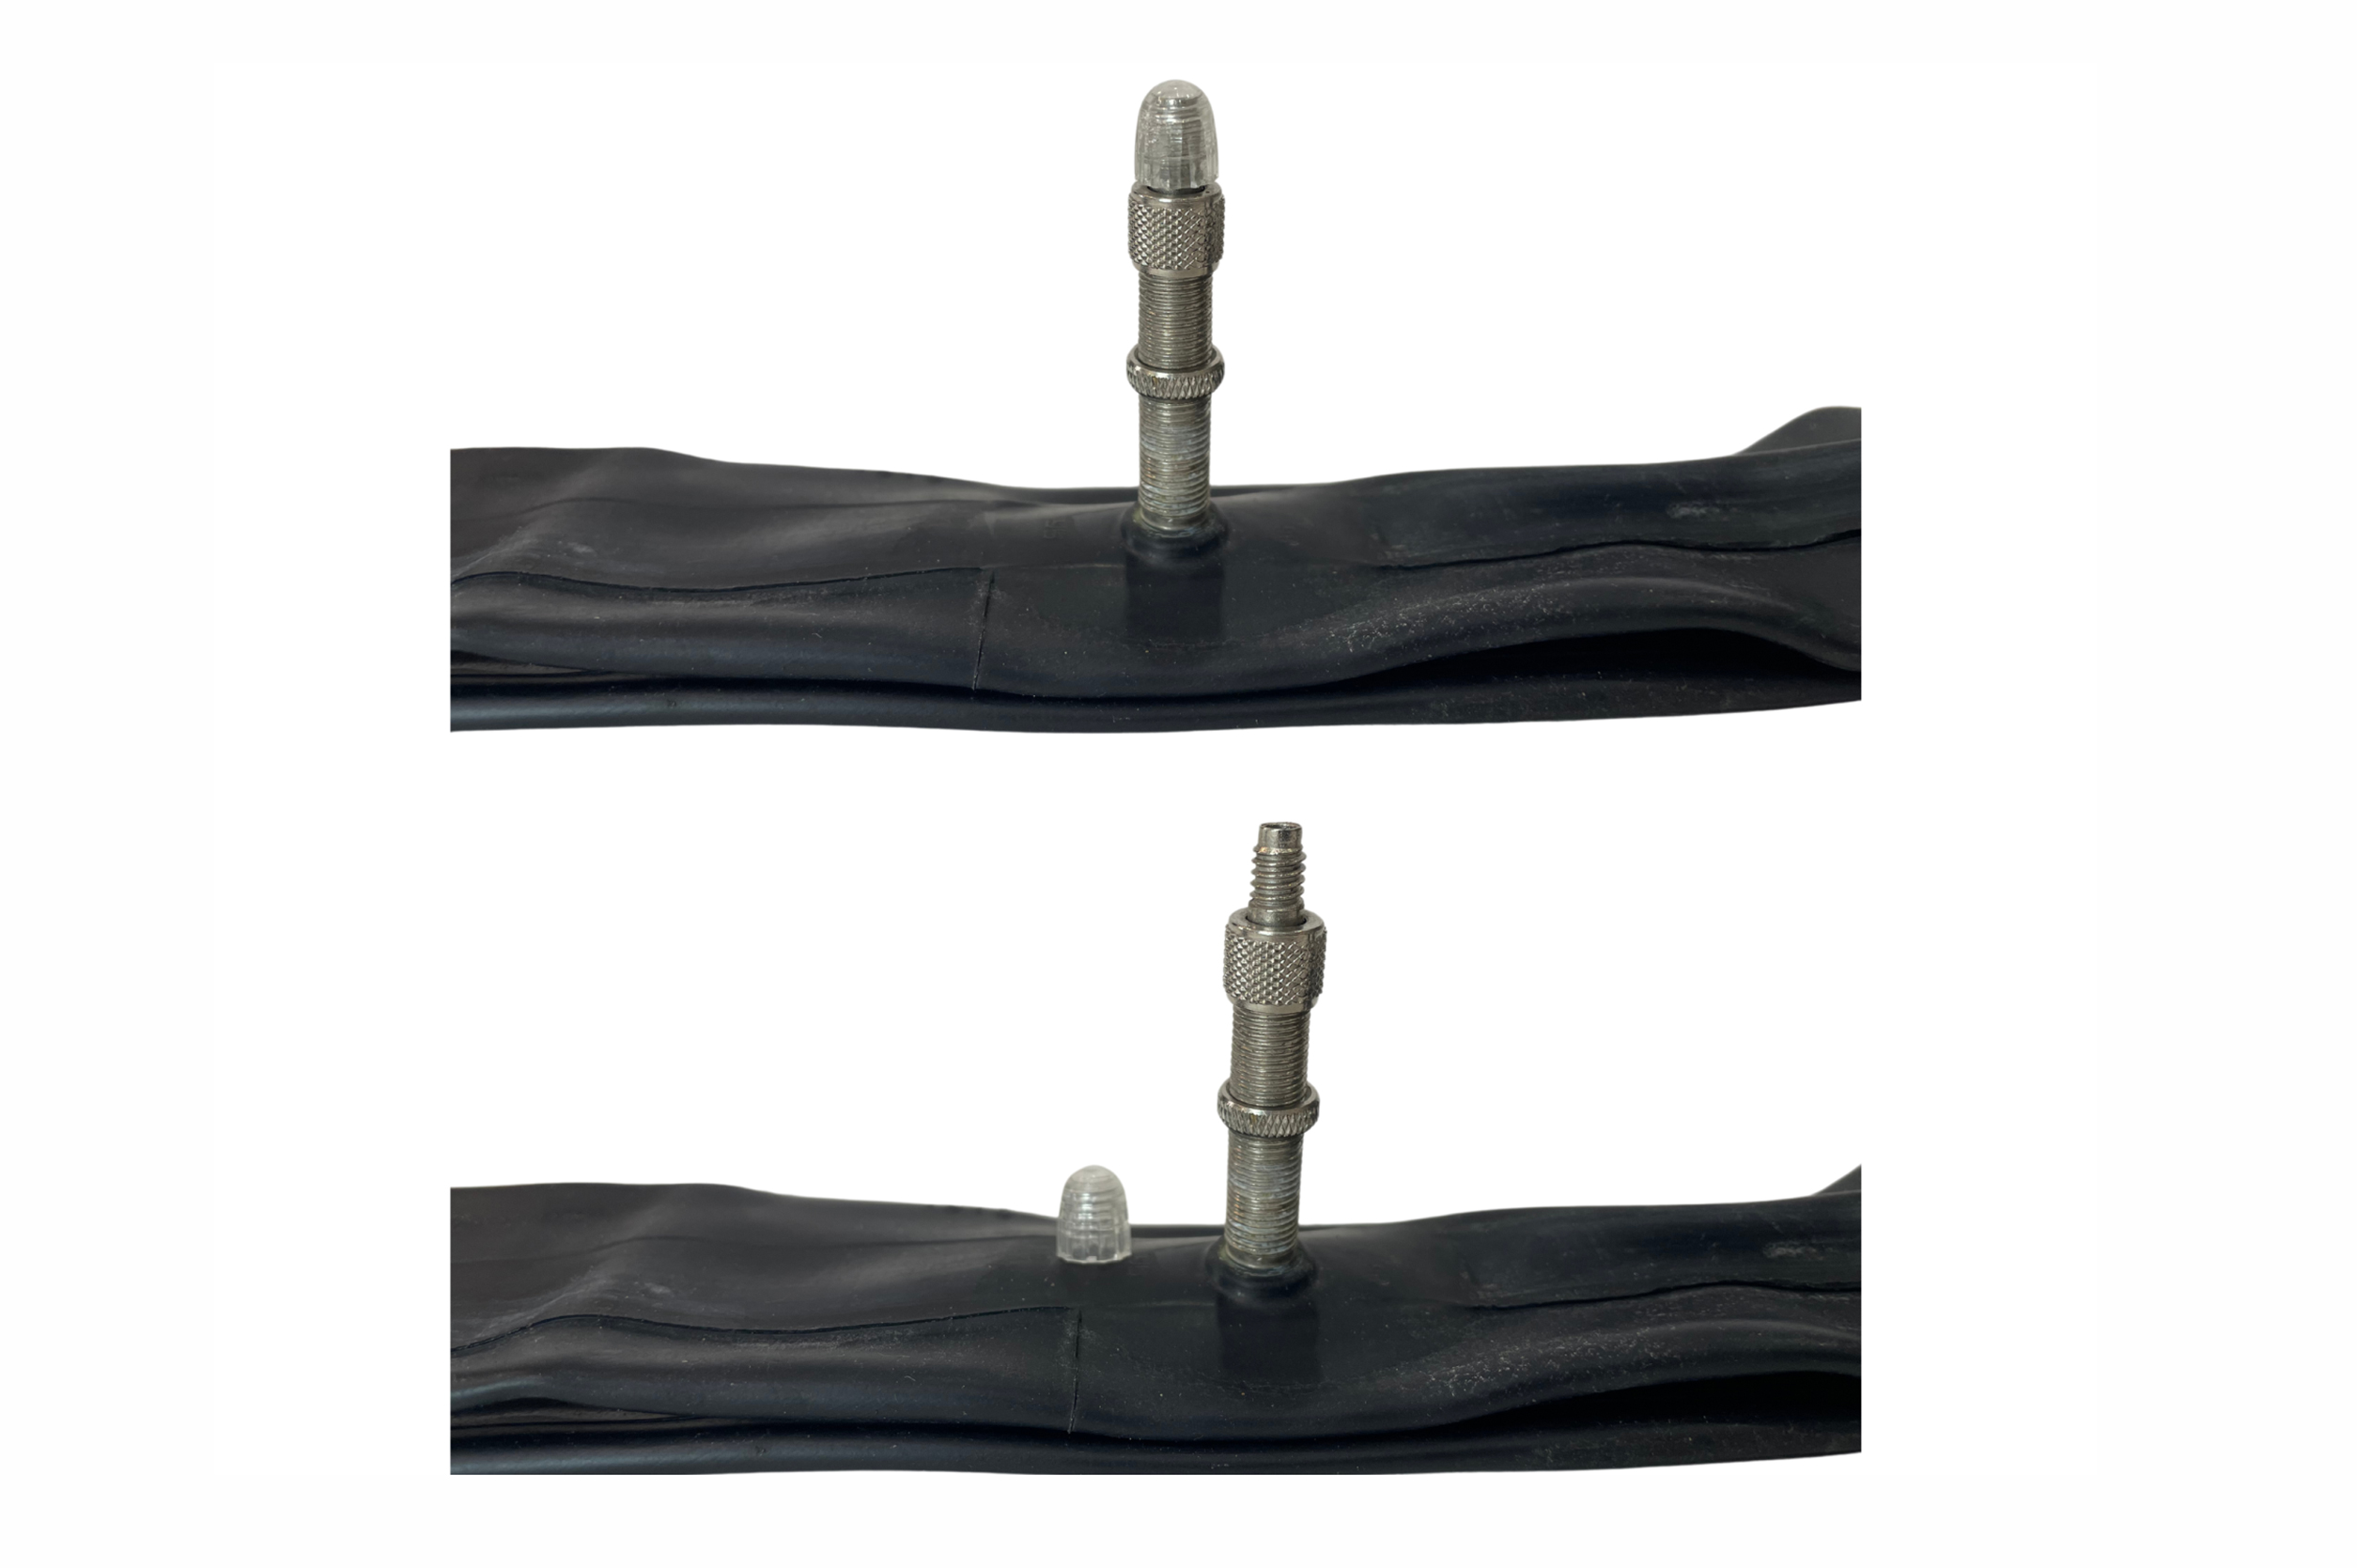
French valve (SV), Presta valve or Sclaverand valve.
The SV is slimmer and lighter than the car valve and is mainly used on racing bikes. It is suitable for narrow rims and can withstand high pressure.
To inflate: Remove the valve cap, loosen the nut on the valve pin, fit the pump head, pump, close the nut again, replace the cap. Installation: Insert the valve through the rim opening and secure with the nut. Ideal for racing bikes and gravel bikes due to precise pressure control.
Flash valve (DV), Dunlop valve
Older city valve (special head required).
The DV is widely used in Europe and is easy to maintain. To inflate: Remove the valve cap, attach the pump and pump. Deflate: Loosen the nut on the valve core. Fitting: Unscrew the nut, insert the valve through the rim opening, insert the valve core. Robust and ideal for everyday bikes.
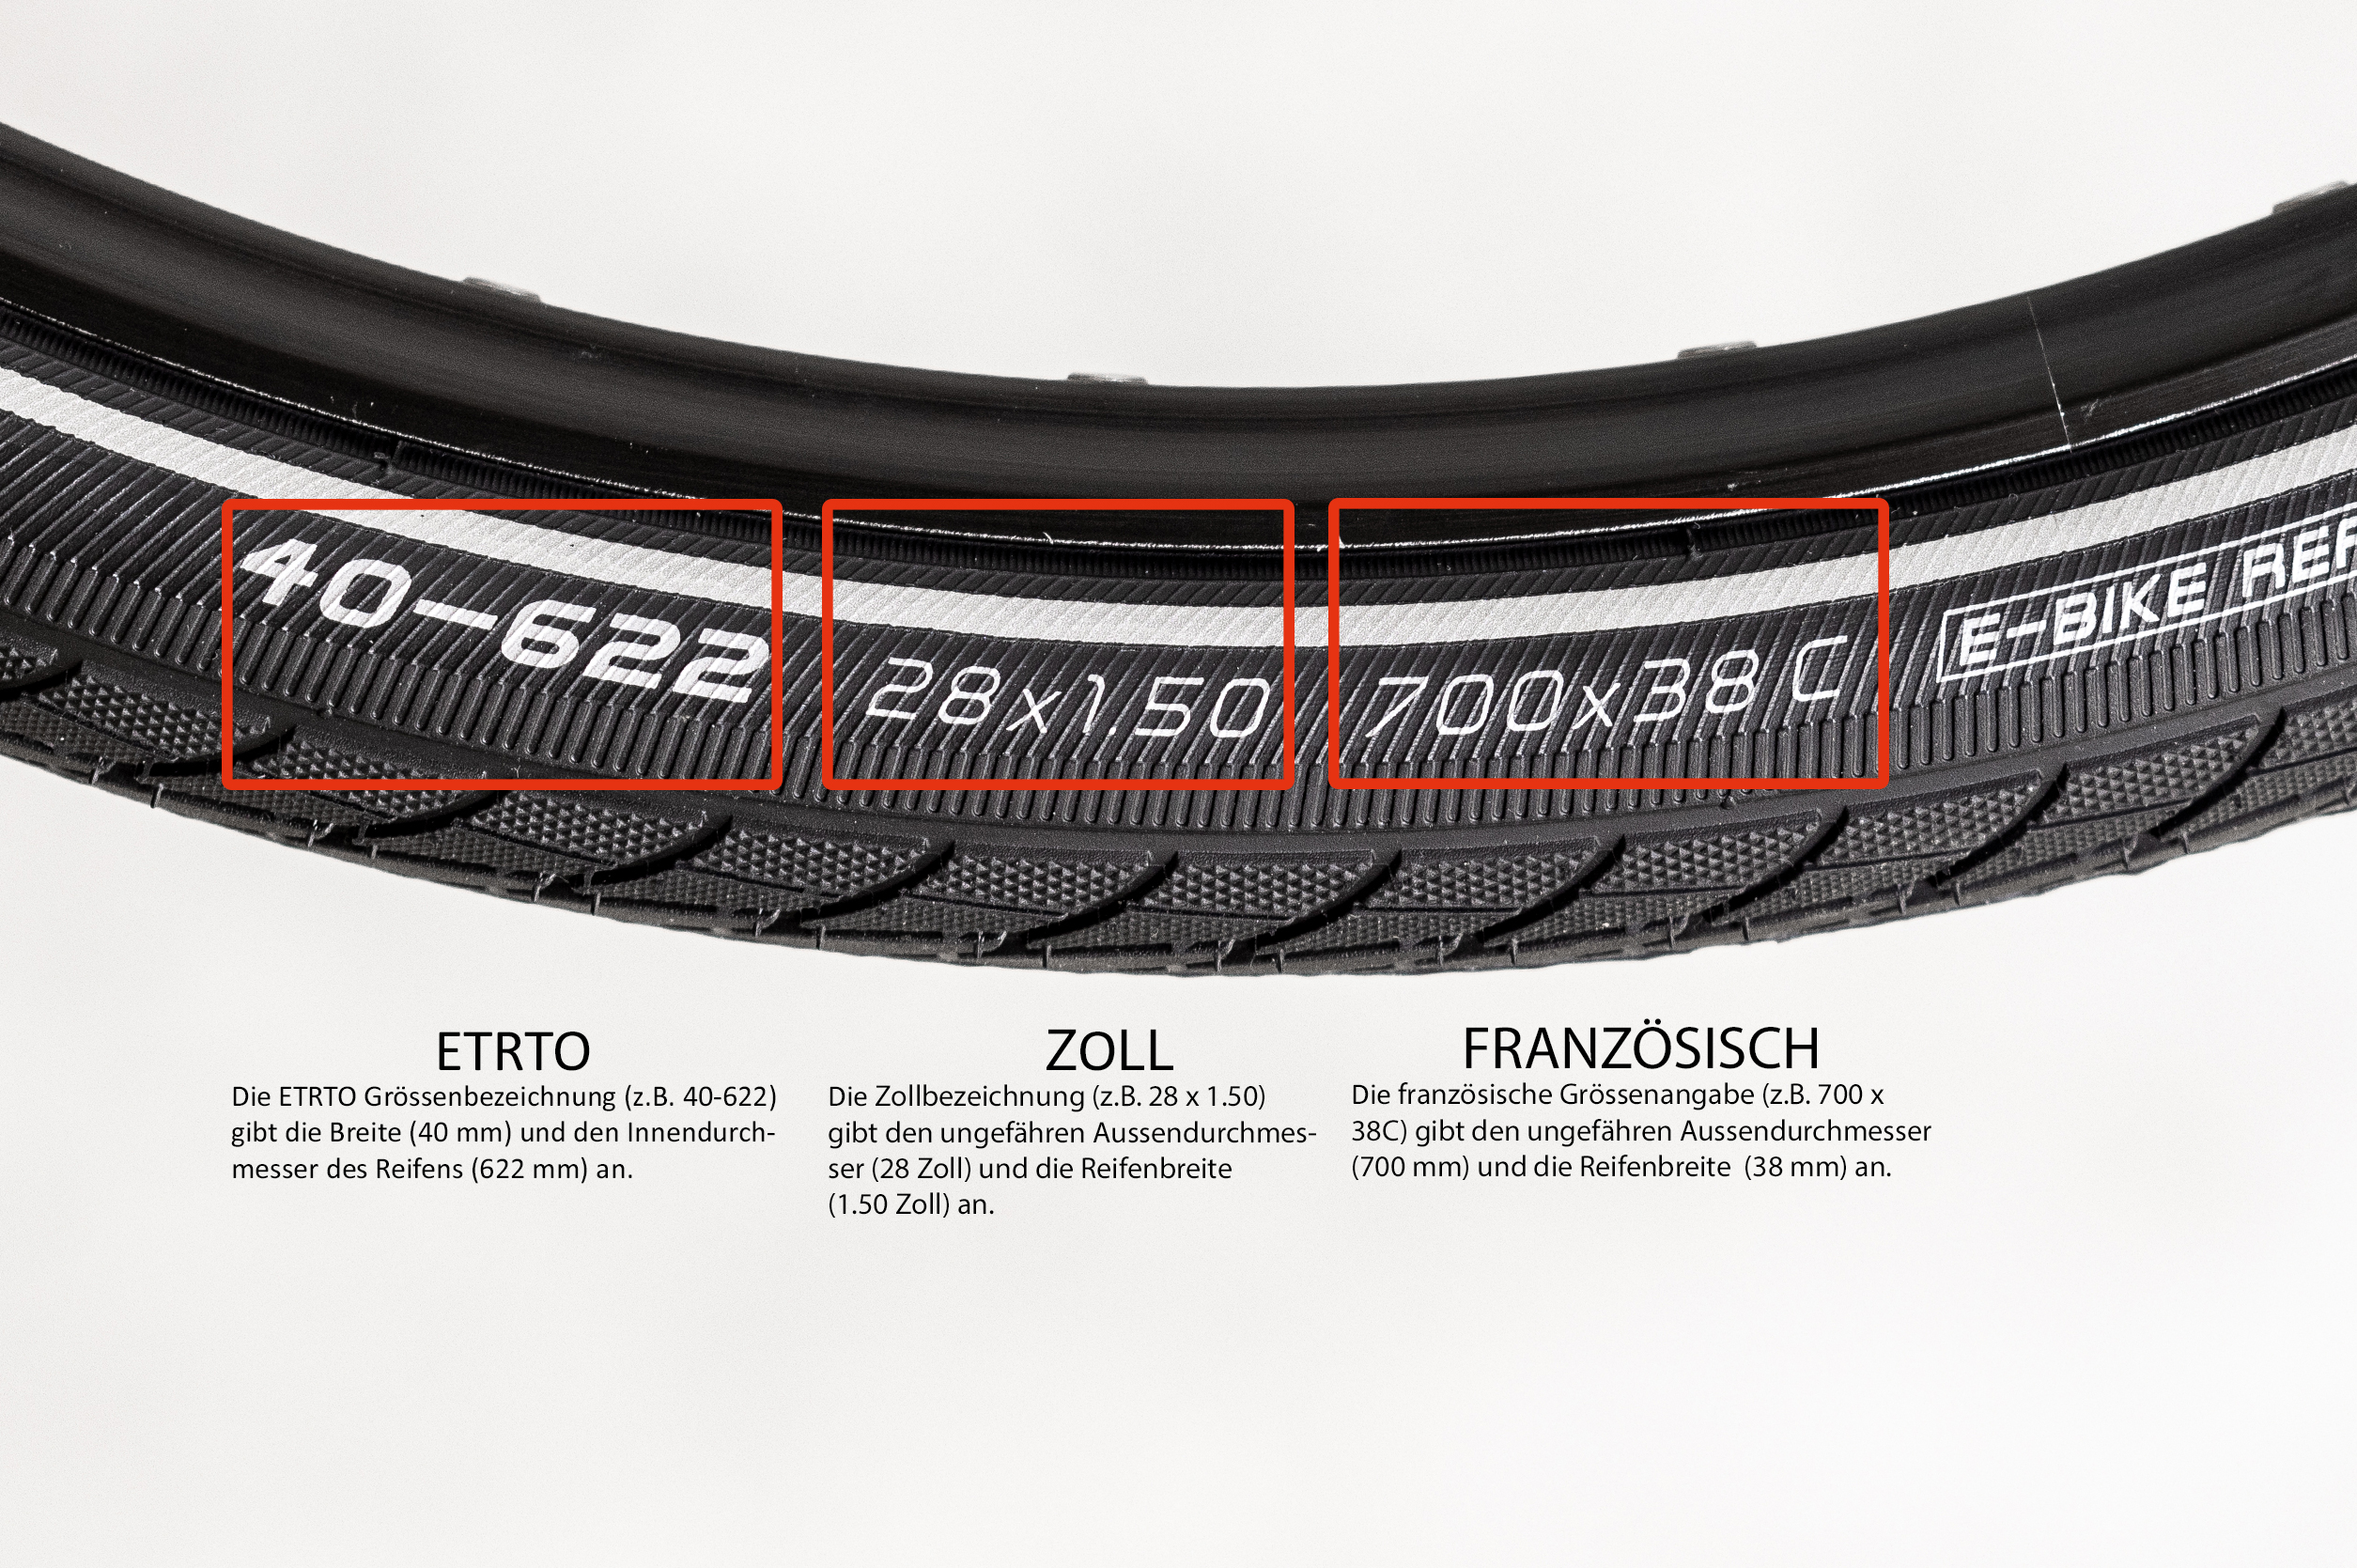
How do you read the ETRTO specification?
A typical example: 40-622
40 = Tire width in millimeters
622 = Rim flange diameter in millimeters
This means: This tire is 40 mm wide and fits on a rim with a diameter of 622 mm (corresponds to about 28 inches).
Step 2: Check the rim tape.
Check the rim tape before changing the inner tube. Cracks or displacements can expose spoke holes and damage the inner tube - replace if necessary.
Step 3: Change the front wheel.
| 1. remove wheel Open the brake, release the quick release or unscrew the quick-release axle and remove the front wheel |
| 2. Deflate & loosen tires Open the valve and allow the air to escape completely. Position the tire lever opposite the valve and lever the casing off the rim |
| 3. remove the hose Carefully pull out the inner tube and check the rim and inside of the casing for foreign objects |
| 4. insert new hose Pre-pump the inner tube slightly, paying attention to the direction of rotation. Insert the valve straight into the rim opening and push the casing back on by hand |
| 5. inflation & control Inflate tire evenly, check fit (tire line must be even all around), align valve vertically |
| 6. install wheel Tighten axle, lock brake |
Solve problems.
| Problem | Why | Remedy |
| Tire wobbles | Coat fits unevenly | Drain to ~1 bar, reseat jacket all around, check control line |
| Brake grinds on the tire | Bike not positioned correctly / saddle slightly crooked | Reposition and fix the wheel; for disk: saddle loose, pull lever, tighten saddle |
| Bang when inflating | Hose is pinched | Release the pressure, loosen the casing at the point, fit the hose neatly, inflate slowly |
Step 4: Change the rear wheel.
The procedure for the rear wheel is almost identical - except that it involves the chain and rear derailleur.
| Preparation Shift to the smallest sprocket, set the rear derailleur lever to „OFF“ and open the brake |
| Change hose Deflate, loosen the casing and replace the inner tube as for the front wheel |
| Installation: Place the chain on the smallest sprocket, pull the rear derailleur slightly backwards, tighten the axle and check the fit of the wheel and brake |
Solve problems.
| Problem | Why | Remedy |
| Chain is next to the sprocket | Chain slipped during insertion | Loosen wheel, place chain on top of smallest sprocket, reinsert |
| Tire wobbles | Coat fits unevenly | Drain to ~1 bar, reseat jacket all around, check control line |
| Brake grinds on the tire | Bike not positioned correctly / saddle slightly crooked | Reposition and fix the wheel; for disk: saddle loose, pull lever, tighten saddle |
| Bang when inflating | Hose pinched | Release the pressure, open the jacket at the point, clean the hose, inflate slowly |
